
 Welcome creators! I really enjoy crafting and creating. I often hear others say to me, "I could never do that"...but that isn't true. I sincerely think everyone can be crafty with a little attention to detail - and really great instructions!
Over the Christmas holiday my husband bought me crochet hooks and the RedHeart Boutique Sashay yarn. (I'm a big fan of scarves - so a crafty way of creating my OWN scarves seemed like a great Christmas present to him!) Of course I loved the gift, but started to wonder about just plain, old, regular crochet too. One of my coworkers often has a bag with her current crochet project in tow, so when we had a free minute I asked her how she learned the art of crochet. Turns out she learned from Youtube...so I set out to learn from Youtube as well.
Three weeks later I have just completed my 4th crochet hat - don't worry the FREE patterns for the popular Mickey and Minnie hats will be coming soon! Today it's just about the basics...
To start, you'll need to create a slipknot. To do this, lay the end of your yarn across the fingers of your left hand, then wrap the yarn once. Now, pinch together the two strands on your first finger - this will create a circle. Insert your crochet hook through the circle and, with your hook, grab the yarn that is hanging (the strand that is attached the ball of yarn) and pull it through. Now pull it pretty tight, but not overly so.


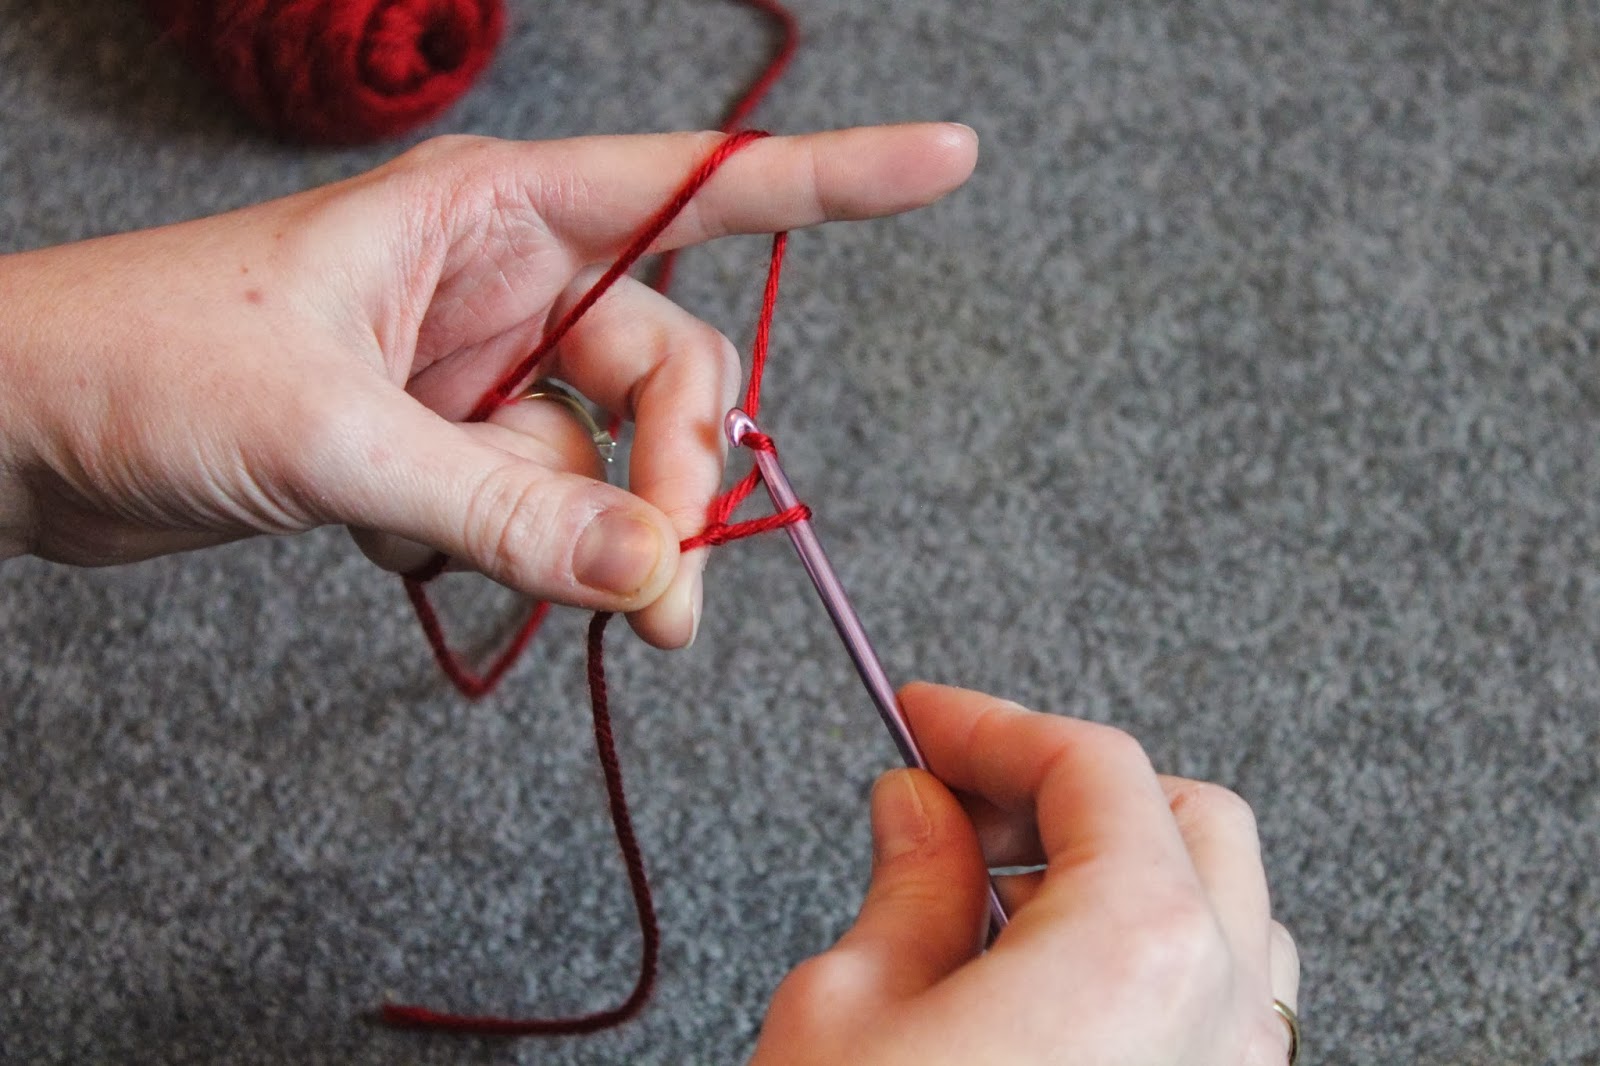
My first challenge, and truly the one that almost did me in, was just learning how to hold the yarn comfortably. Many of the videos I watched just kind of went quickly through the process and didn't really show enough detail for me to fully grasp the proper position. The best way I can describe it is to wrap the yarn around your pinky finger, then again around your first finger.


I really recommend practicing just holding the yarn comfortably and "picking up" the yarn several times. This truly was the hardest part for me. If my method doesn't float your boat, search Youtube for a few videos and watch how others do it.
Once you feel comfortable holding the yarn, you can begin to practice how to chain. When you have the slipknot ready, twist your hook so that the yarn is wrapped around the top. This is called "yarn over". Then just pull the yarn through your loop.


Congratulations! You have just crocheted your first stitch...now main about 200 more. I'm serious...practice it. A lot. This is not only a really helpful tool in crochet, but also a great way to get comfortable holding the yarn and manipulating it.
The next (and most important) stitch to learn is the double crochet. After you have made a few chains, yarn over, then instead of pulling it through the loop on the hook, insert the hook back into the chain stitch that is two chains from your hook.


Using the hook,pull the yarn through the chain stitch. You should have three loops on your hook.

Now, yarn over again. Pull the yarn through the two loops closest to the hook. Then, yarn over again. Pull the yarn through the last two loops.


You've completed one double crochet...now keep practicing! I would recommend chaining 15-20 stitches, then using that "foundation" chain to complete 15-20 double crochets. When you've made it all the way down the line, complete your last double crochet and then chain two. Turn your work (so all your stitches were on the right and you were working right to left - now all the completed on are on the left and you can once again work right to left. Continue to put double crochets into the tops of your previous stitches. You can continue back and forth like this for as long as you want - you could even make a scarf at this point!
Before you end, I'd recommend this video on how to complete the "magic ring". This is the foundation for creating hats. Practice this technique - it makes hats so much easier!
If anything, I hope this helps get you started and be inspired. Crochet can turn simple yarn into a beautiful piece of art!
No comments:
Post a Comment