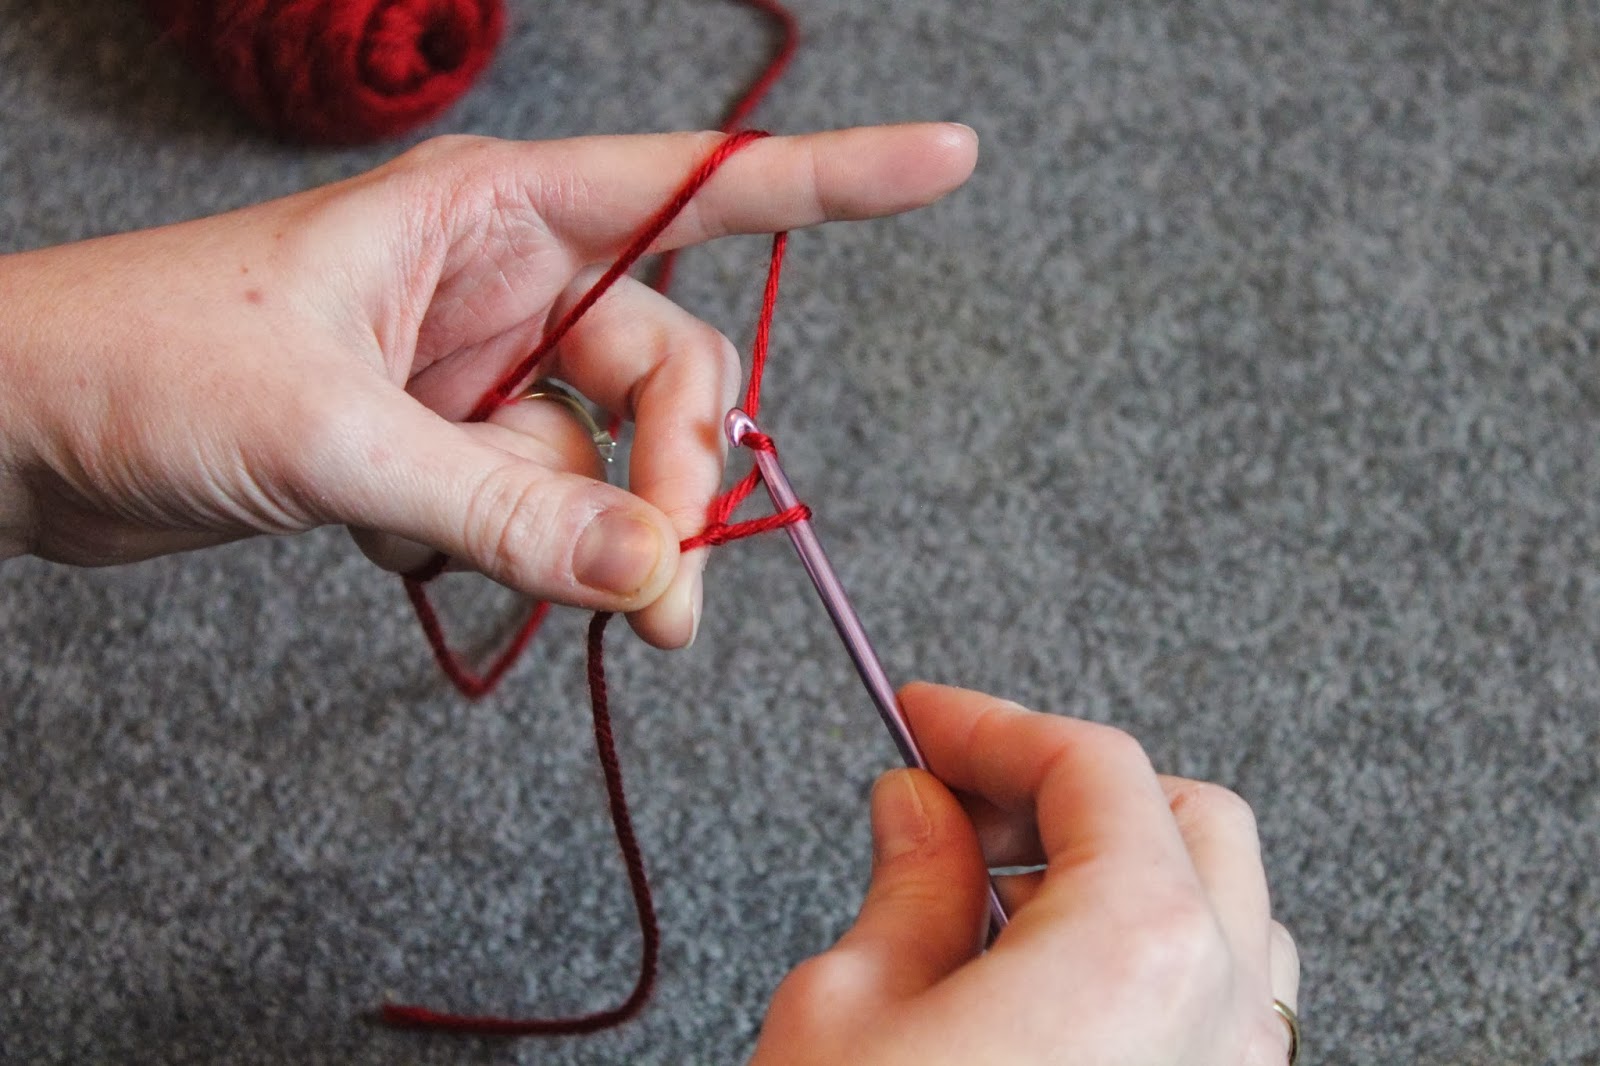
I hope you've been practicing all those chain stitches and double crochets! I have a FREE pattern for you that everyone will love. One of the first things I pinned on Pinterest when I discovered my love of crochet was a Mickey Mouse hat for my son. I just thought the photo was adorable and wanted to recreate it myself.
Feel free to visit the blog that inspired me. She also has a free pattern, but I didn't follow it. For some reason, I am confused by the way patterns are written out. I have no idea why they are confusing to me, but they just are. For a little inspiration to keep you going, here is a photo of the finished product:

Pattern:
Hat: Begin with 10 double crochets into your "magic ring" (see last post about these stitches). After using a slip stitch to join, chain 2. Now, stitch two double crochet stitches into the tops of all the first 10 double crochets (this is round 2). At the end of the round, slip stitch to join, then chain 2 and turn the work over. Now you will double crochet twice into a stitch, then once in the next stitch, then twice in the next stitch, then once in the next, etc. until you have completed the round. Again, slip stitch to join, chain 2, turn the work over. Now you will double crochet twice into the first stitch, then once into the next, then once into the next, and then repeat the pattern again. 2-1-1-2-1-1, etc. until you have finished the round. Slip stitch to join, then chain two, and turn the work over. Again, two double crochet into the first stitch, then once in the next three stitches. Repeat 2-1-1-1-2-1-1-1, etc. until you have finished the round. At this point I stopped increasing for the hat I made for my son. His head is about 20 inches in circumference. I am working on an adult sized hat and decided to increase over one more round for that hat. Slip stitch to join, chain two, and turn the work over.
Now you will simply double crochet into each stitch for every round. Once the round is complete, slip stitch to join, chain two, and do it all over again. I don't turn the work over once I'm done "increasing". I did about 5 rows just like this of black yarn - but honestly it all kind of depends on where you want the black to stop and the red to start. When you are ready to switch colors, I highly recommend this video to explain it. Again, continue with one double crochet into each stitch until you have the hat just about the right length. Now you are ready to tie off. Slip stitch to join. This part is then pretty simple - just trim the yarn, pull the strand through your slip stitch and viola. At this point I put the hat on my son and kind of figured out where I wanted the ear flaps to be located....but you can always just go for just back from the middle.
Earflaps: Once you've located where you want the center to be located, count backwards 7 stitches. This is where you are going to begin. Stitch 14 double crochet stitches, then chain two and turn the work around. Now you will decrease once (here's a video about decrease), double crochet once into every stitch, then decrease at the end. Chain two, turn the work around. Now just double crochet straight across. Chain two, turn the work around. Decrease on each end with one double crochet into each stitch in the middle. Chain two, turn the work around. Double crochet straight across. So this pattern repeats as you lengthen the ear flaps...honestly I just kind of decided how long I wanted the flaps and how wide...it is all up to you. One tip - write down what you do in each row so when you do the other side you'll remember what you decided for the first earflap. When you've finished the first earflap, tie off, lay the hat flat, and then you'll be able to see the starting point for the second earflap.
Trim: When you've completed the earflaps, I like to give the hat a more polished look so I single crochet into every stitch all along the edges. I usually put 2-3 single crochets into the corners.
Buttons: Using white yarn, make the magic ring with 10 stitches. That's it! Just do this twice.
Ears: Using black yarn, make the magic ring with 10 stitches. Chain two, don't turn! Now stitch two double crochets into each stitch until you complete the round. Slip stitch to join. Chain two, don't turn! Stitch two double crochets, then one, then two, then one until you have finished the round. Slip stitch to join, tie off, and leave a long tail of yarn.
Now just attach the buttons and ears. For the best video on how to attach things to your hats with a yarn needle, click here. The yellow braids are just simply three strands (on each side) of really fluffy yellow yarn that about 20 inches long. I just poked them through a hole between stitches on my last row of the earflaps and then braided them. I tied them on the ends.
SO - good luck with your Mickey hat. I hope this helps. Be on the lookout for the Minnie Mouse version soon!